Everything begins from the Prompt Library section in the left sidebar of the platform.
Step 1: Create a Folder
Folders help you organize prompts by use case, department, or project. To create a folder:- Go to Prompt Library in the left sidebar
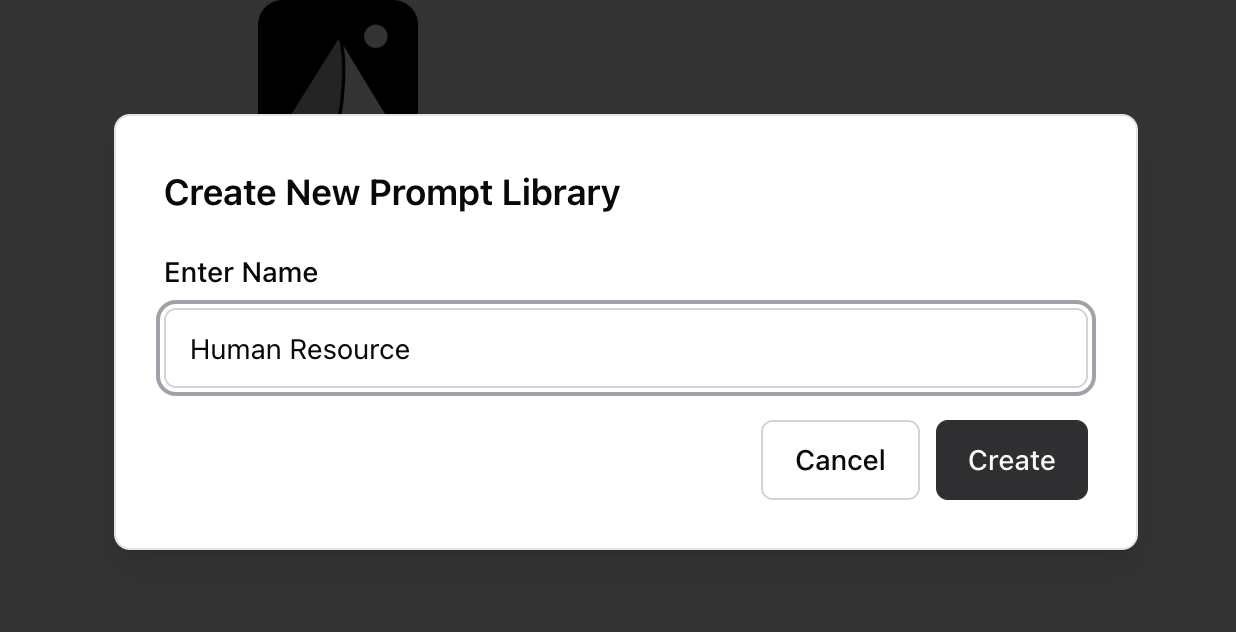
- Click the “+” (Create Folder) button
- Enter a Folder Name (e.g. “Marketing Templates”)
- Choose who can access it
Your new folder will now appear in the sidebar and the main library view.
Step 2: Create a Prompt Inside a Folder
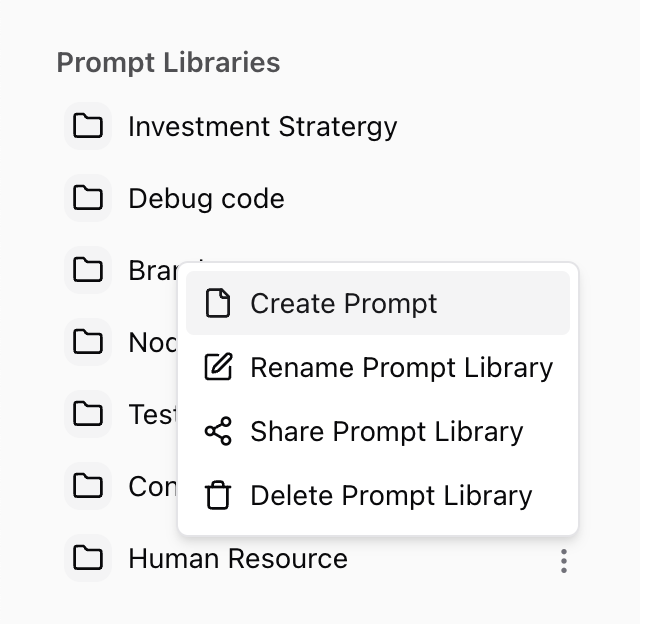
- Navigate to the folder you just created
- Click the three-dot menu (⋮) next to the folder name
- Select “Create Prompt”
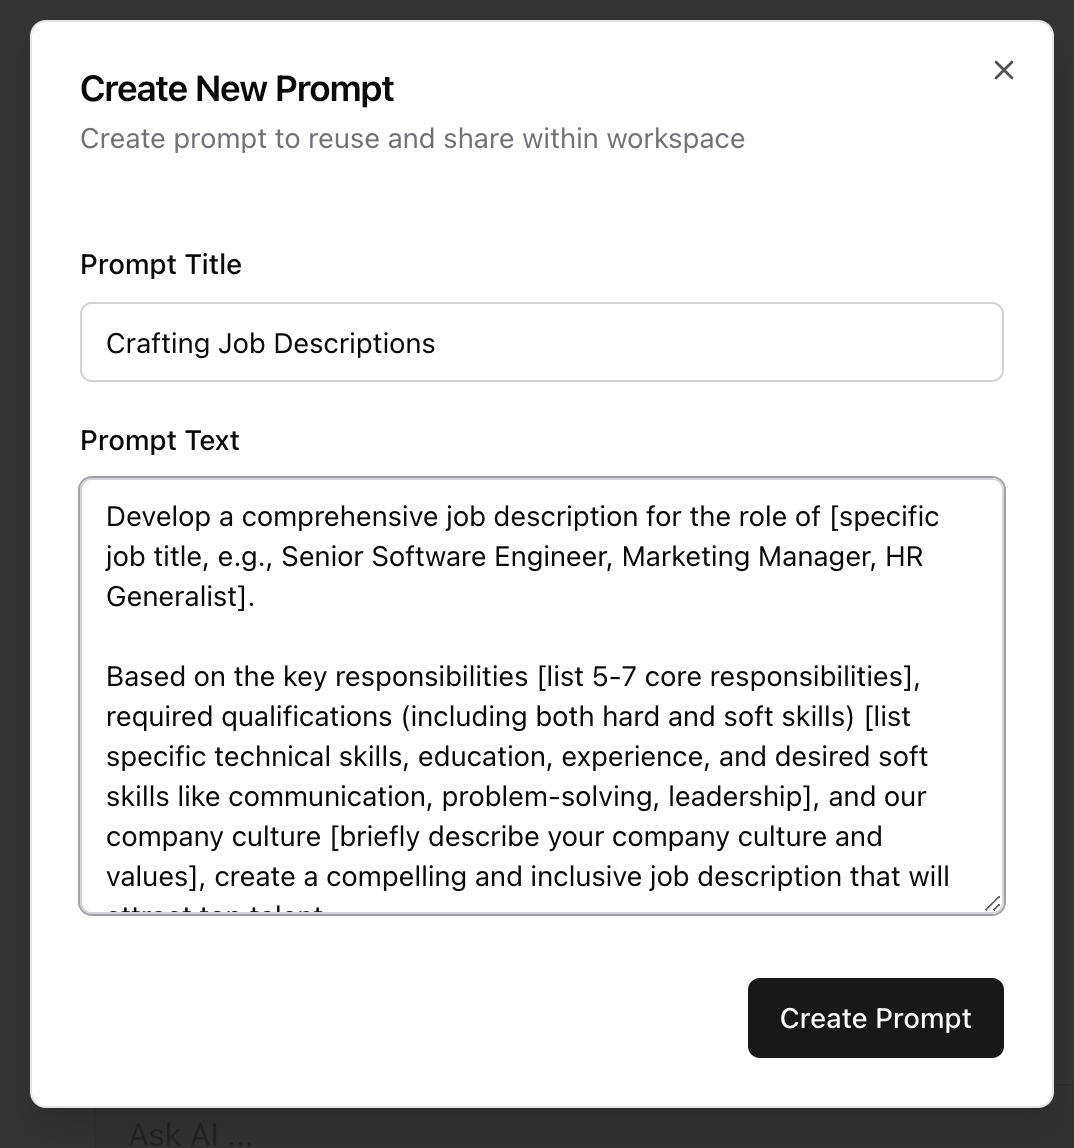
- Title — A clear name (e.g. “Welcome Email Generator”)
- Text — The actual prompt instructions (this is what the model will use)
How to View a Prompt
To quickly view the full content of a prompt:- Go to the Prompt Library
- Hover over the prompt name in any folder
- A preview will appear, showing the full prompt body and description

Edit or Delete a Prompt
- To edit, Click the three-dot menu (⋮) next to the folder name
click Edit - To delete, use the three-dot menu (⋮) next to the prompt in the folder view
Tips for Staying Organized
- Use clear, descriptive titles
- Add a description to explain when/how to use the prompt
- Group prompts by function, department, or client
- Avoid duplicates — check before creating similar prompts