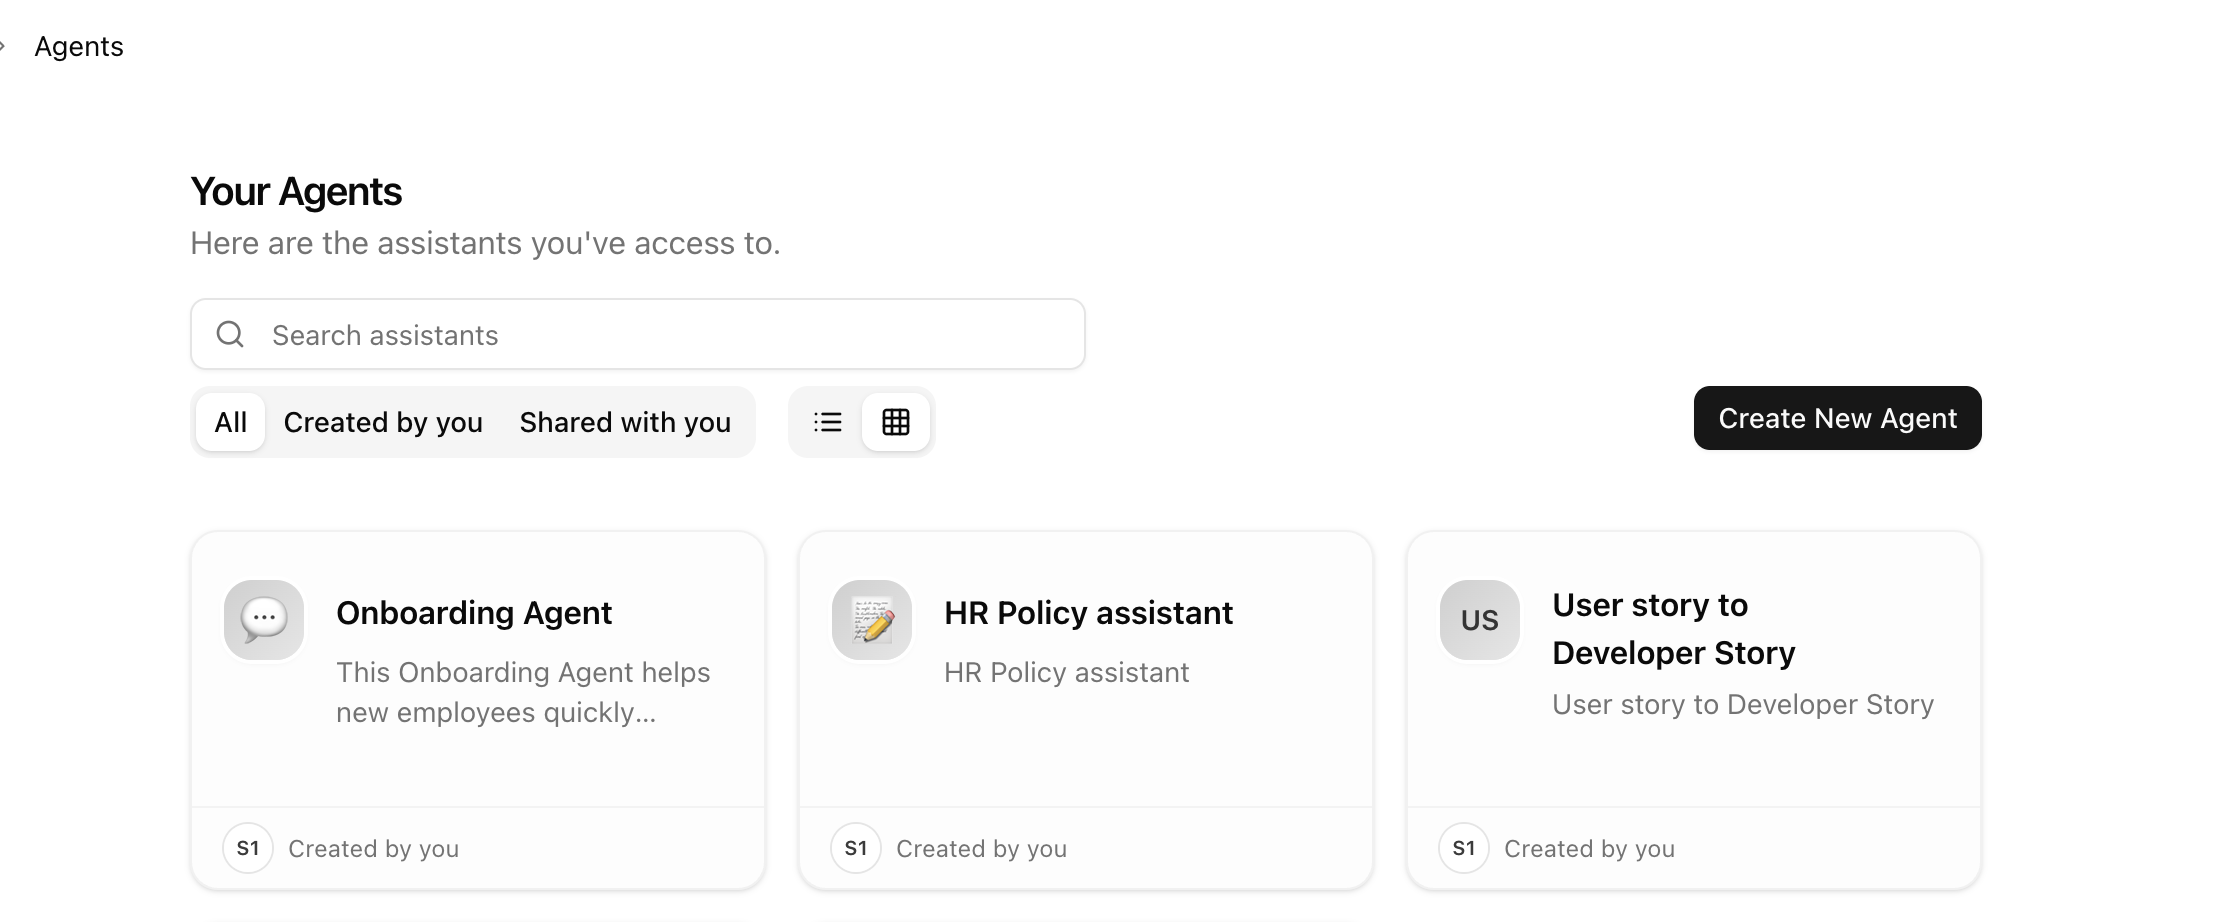
Step 1: Go to the Agents Section
- Click on “Agents” from the left sidebar
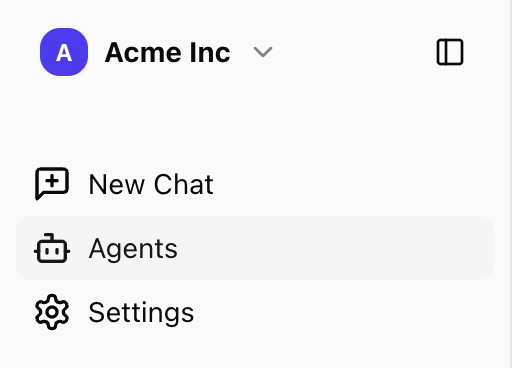
- Click the “Create New Agent” button on the top-right
Step 2: Define the Agent Persona
This is where you define who the Agent is and what it does.-
Name
Give your Agent a clear and descriptive name (e.g. “HR Policy Bot”, “Client Email Generator”)
ie. Onboarding Agent. -
Description
A short summary that explains the Agent’s purpose to users -
Instruction (system prompt)
This will not be shown to users. It tells the model how to behave, what it should focus on, and what it should avoid.
Example:You are an Onboarding Agent for our company. Your job is to answer questions from new employees using the company policy and onboarding documents provided. Always keep your tone friendly, professional, and supportive. If you’re not sure about something, politely let the employee know and suggest they check with HR or their manager.” Your role includes: Answering questions about working hours, leave policies, tools we use, remote work, reimbursement, and IT support. Giving clear, concise answers grounded in the uploaded company policy. When possible, mention the exact rule or action the employee should take (like ‘submit leave via the HR system’). If a question is outside your scope, say: “I’m here to help with onboarding-related questions. For this one, it’s best to check directly with [HR/contact person].”

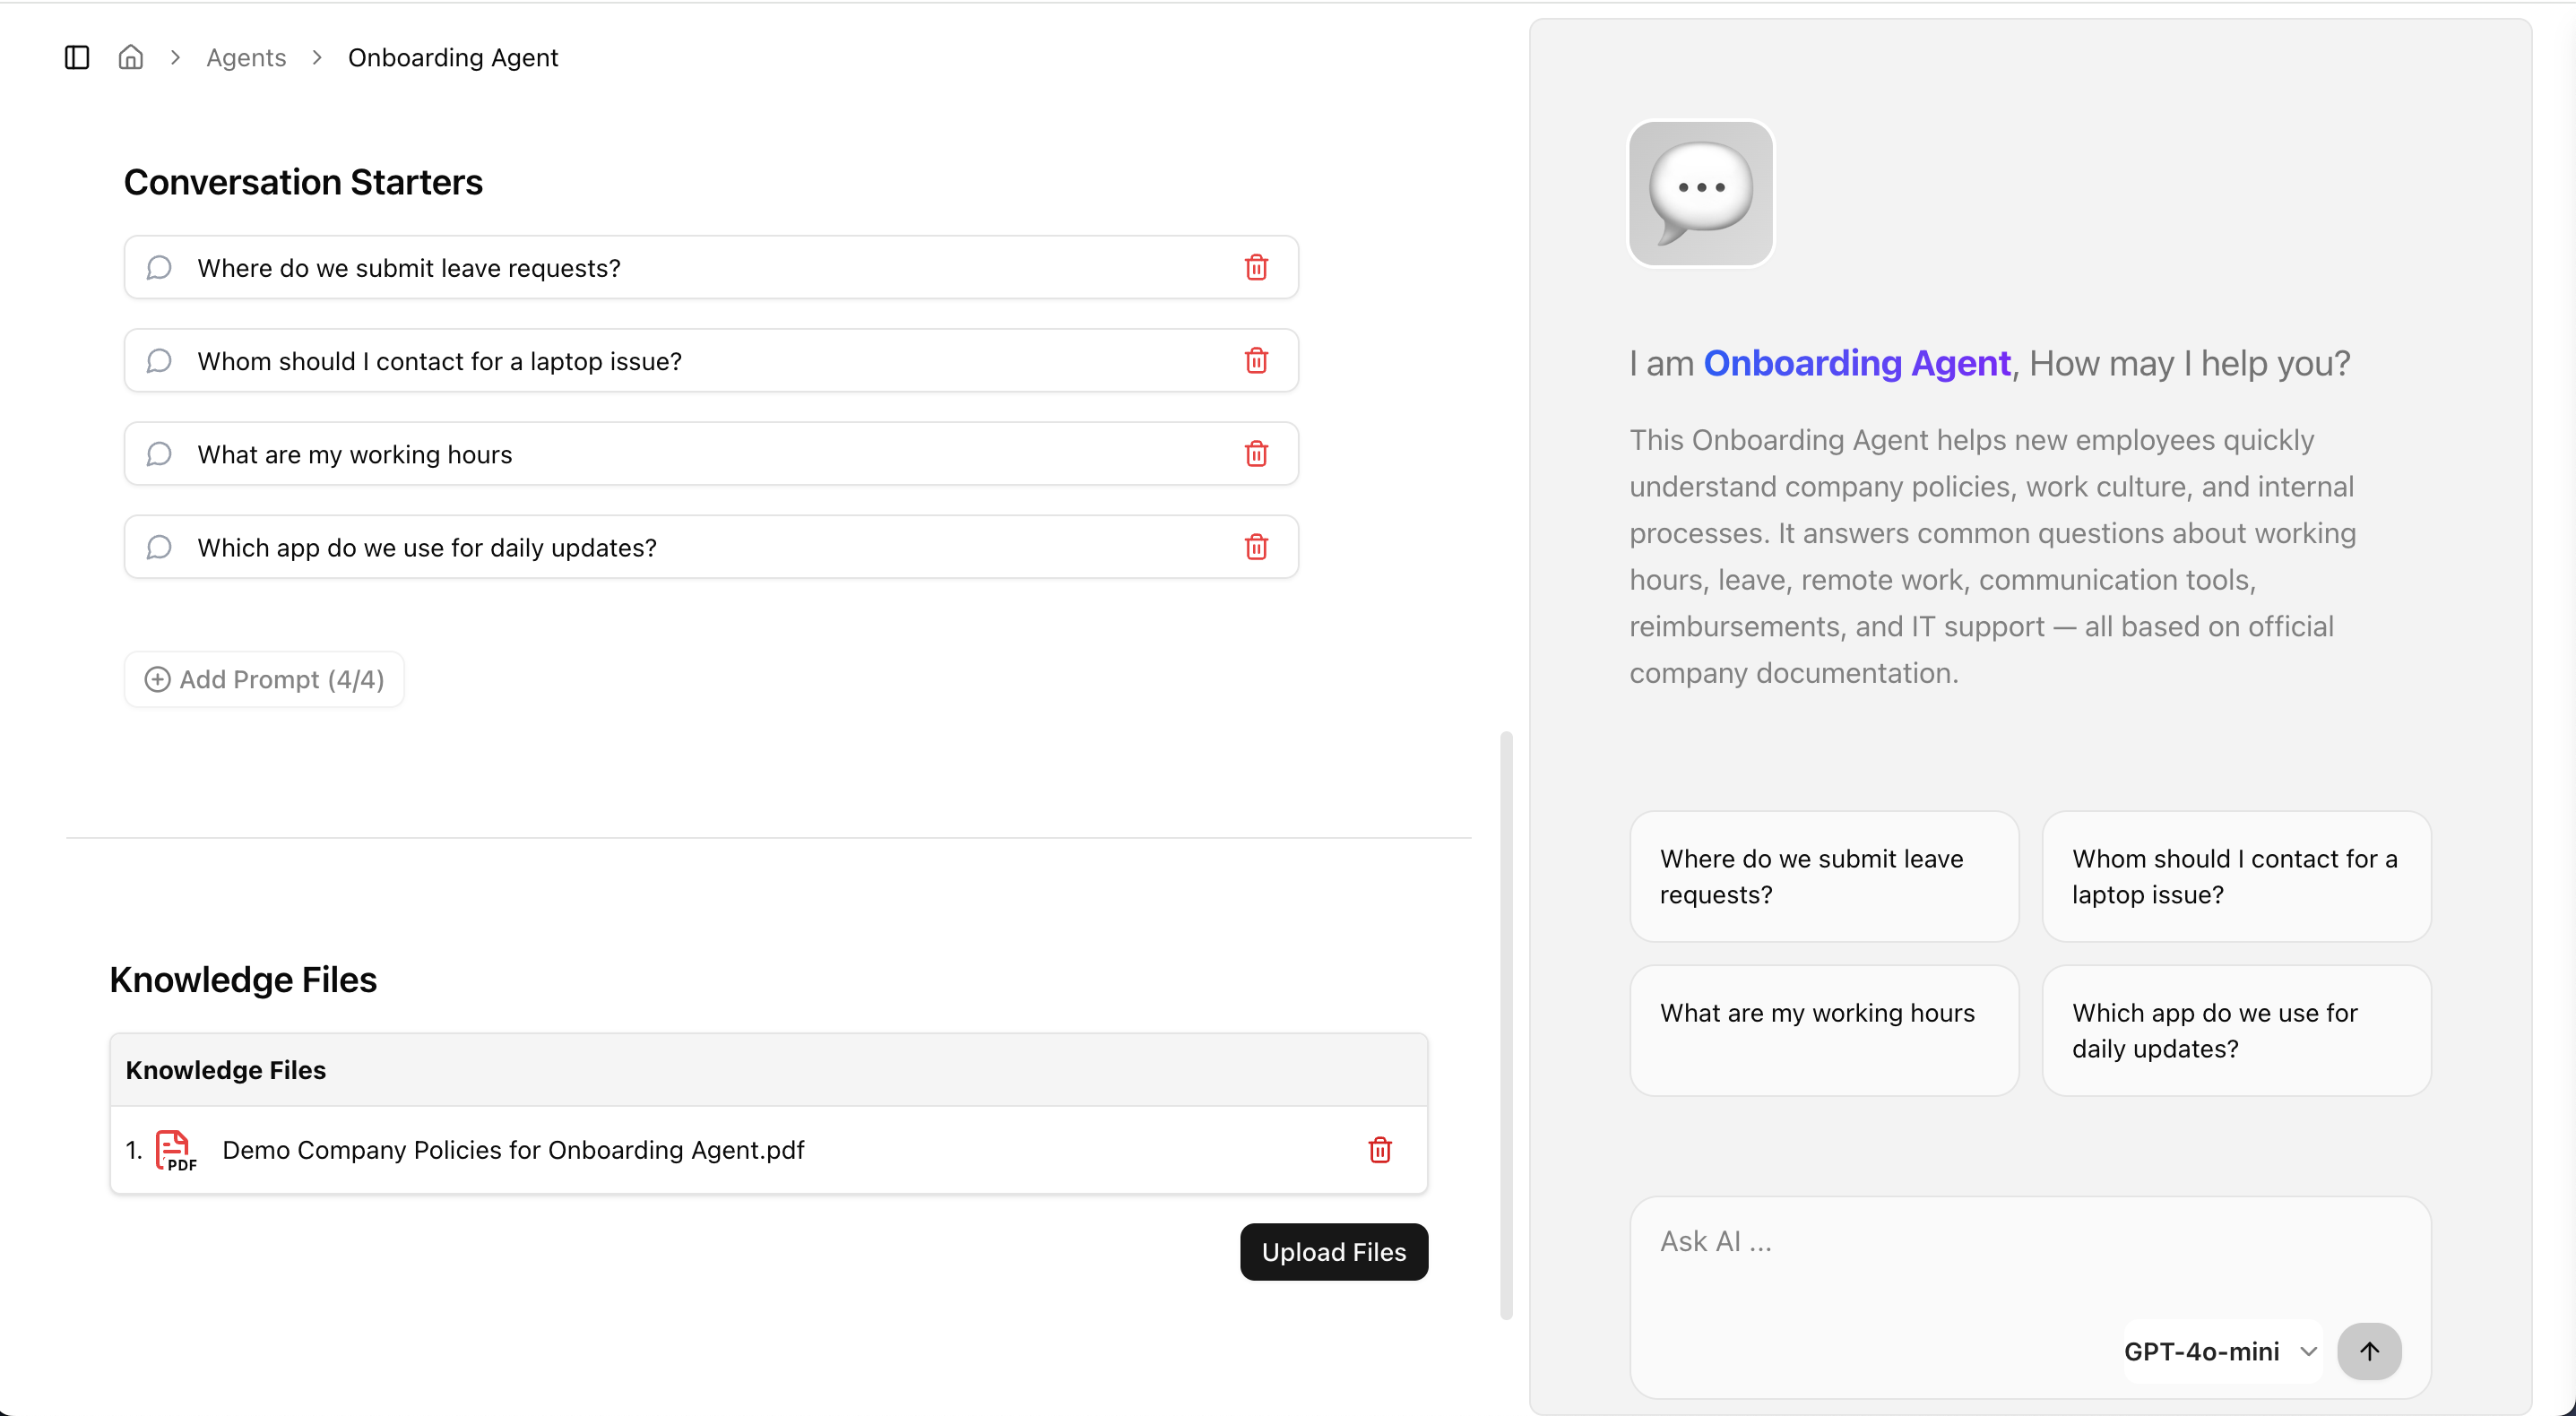
Step 3: Add a Conversation Starter (Optional)
You can prefill a message that starts the agent interaction.This helps guide the user on how to use the agent. Example:
You can add up to 4.
- Where do we submit leave requests?
- Whom should I contact for a laptop issue?
Step 4: Attach Knowledge or Files
In this step, Upload files the Agent should reference when answering questions.- Supported formats: PDF, DOCX, TXT, etc.
- You can upload multiple files.
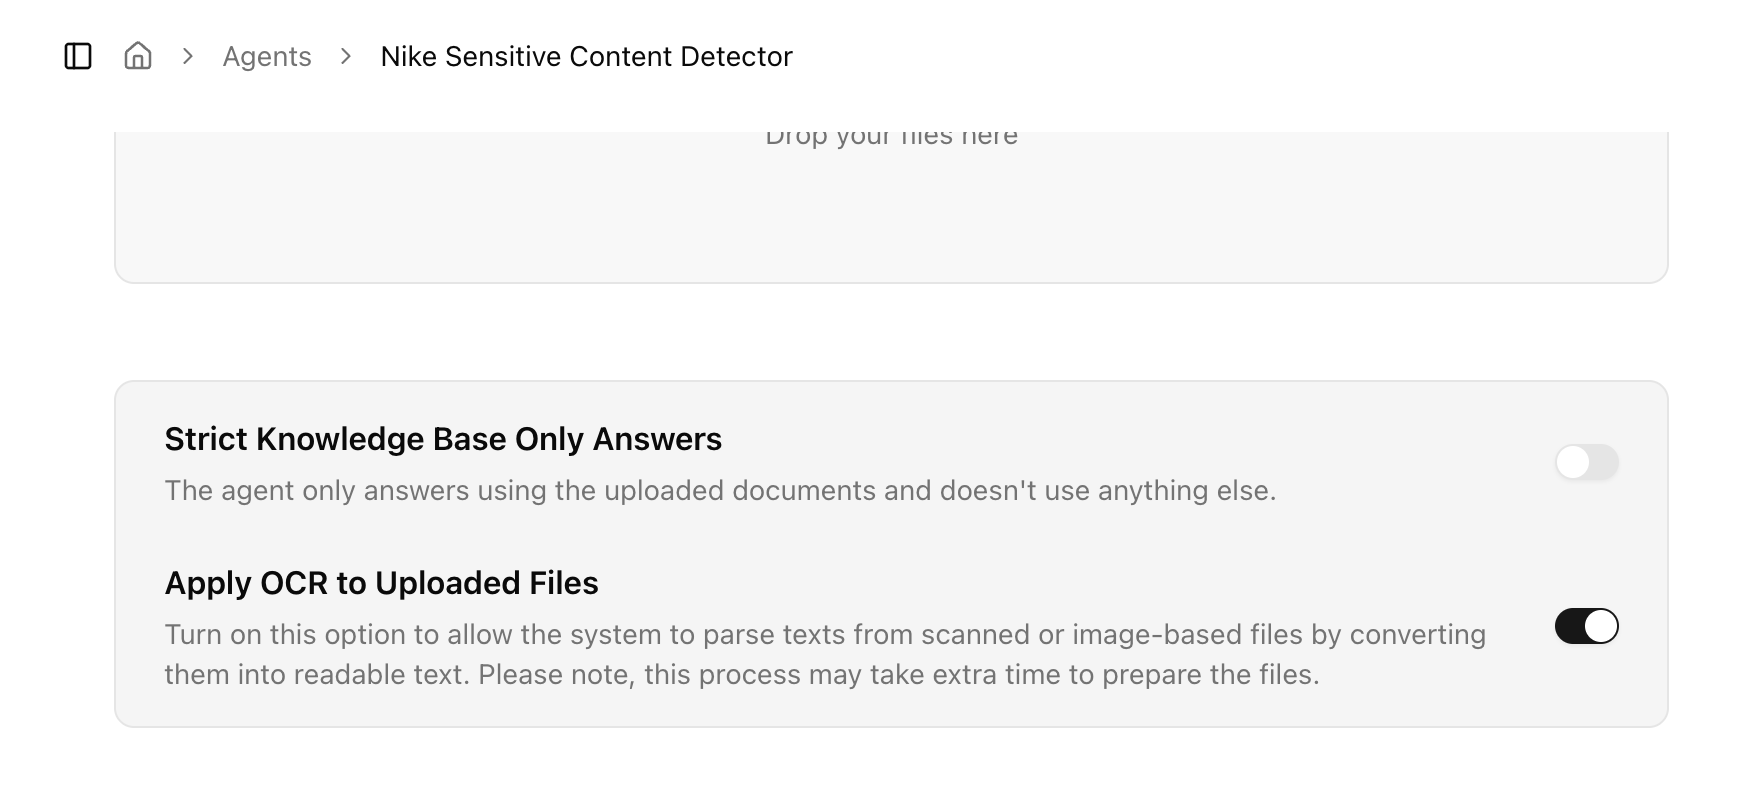
Step 5: Strict Knowledgebase Mode
Agents can be configured to respond only based on uploaded files or connected knowledgebases.This ensures:
- Higher accuracy
- Reduced hallucinations
- Controlled and verifiable responses
Step 6: OCR Support in Agents
Agents can extract text from scanned documents, images, and PDFs using Optical Character Recognition (OCR).Useful for workflows involving:
- Invoices
- Forms
- Image-based data inside the pdf or execl
Step 7: Set Visibility (Sharing agent)
You can share the Agent with:- Specific individuals
- Groups (like “Marketing Team”)
- Entire Workspace
Once you save the Agent, it will appear in your “Agents” list.
Edit an Agents
Need to make changes to your agent? Here’s how:- Open the Agents Page
Go to the Agents section — you’ll see a list of all agents you can access. - Find Your Agent
Scroll through the list or use the search bar to quickly locate the one you want to edit. - Hover to Reveal Edit
Move your mouse over the agent’s card. Look for the edit icon in the top right corner.

- Click and Edit
Click the icon to open the agent’s details. Make your changes directly in the editor. - No Save Button Needed
Your changes are saved automatically as you go — just close the editor when you’re done.
What’s Next?
- Share and deploy Agents to teams
- Chat with AI Agents
- [Agent Best Practices →] (coming soon)